Melinda is a creator. She creates art of all kinds, from drawing and painting, to sculpture and mixed media. She writes every day. So when we met to plan her portrait session, we talked a lot, and created a visual mood board along with a list of words to help me design her session.
She wrote “It took me a while to psych myself up for the shoot, but I am so glad I went through all of my fears and we did it! … it was super fun AND the collection of photographs that she produced are beautiful. I now have something to share with my children … (and down the road when I’m an old grannie, I’ll be glad to see myself at sixty-three).”
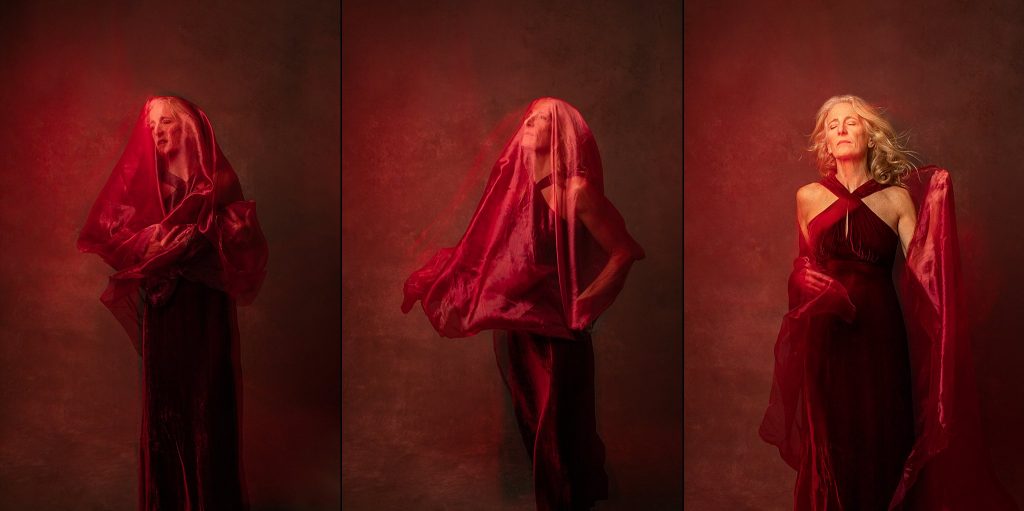
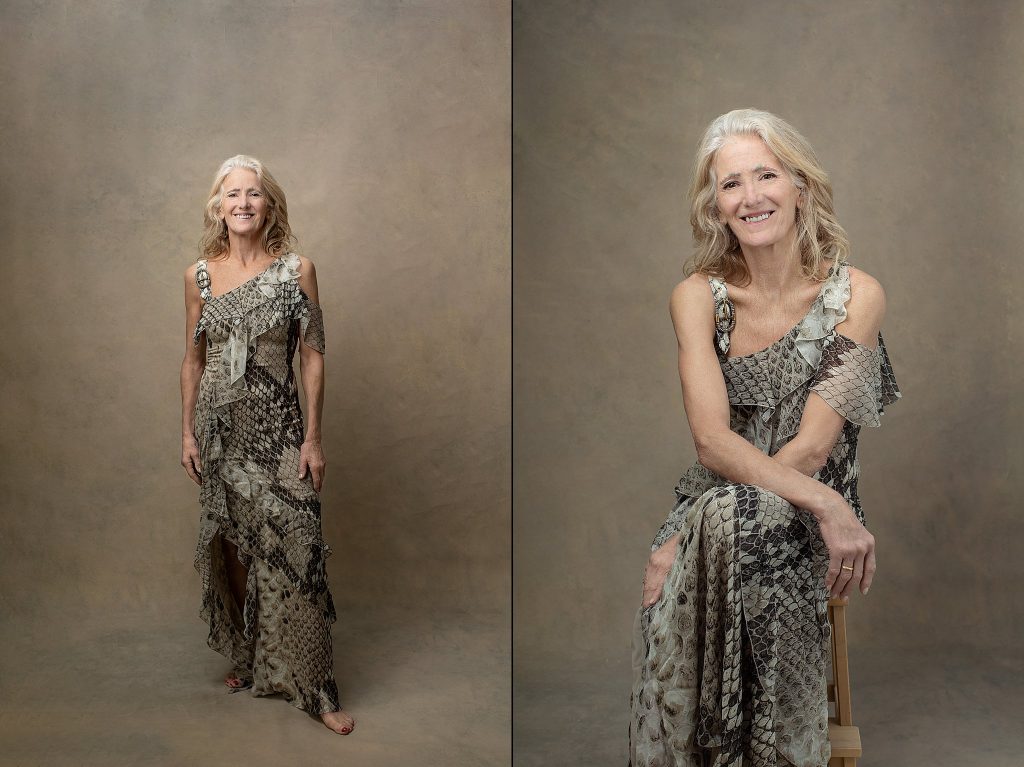
Like many artists, Melinda’s mood board went in several directions. It included movement as well as stillness; black-and-white photos as well as lots of color; wings; goddesses; pop art and hints at classical Egyptian and Greek art. There was introspection, transformation, joy, and power.
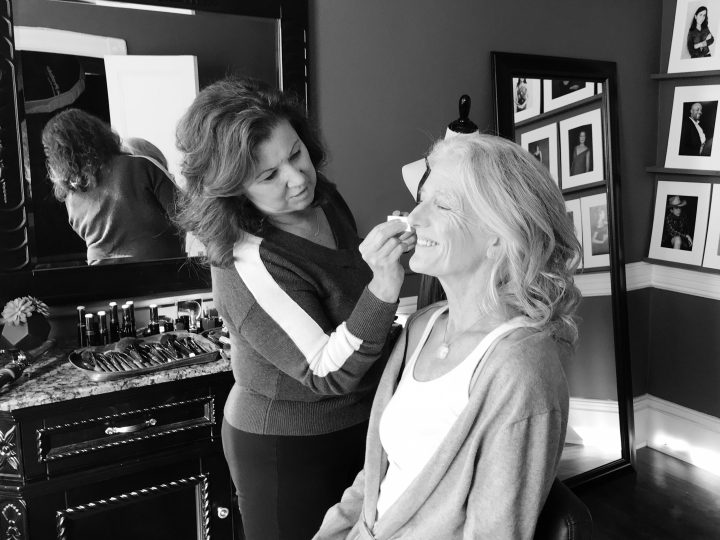
The day of Melinda’s photo session started with professional hair and makeup styling.
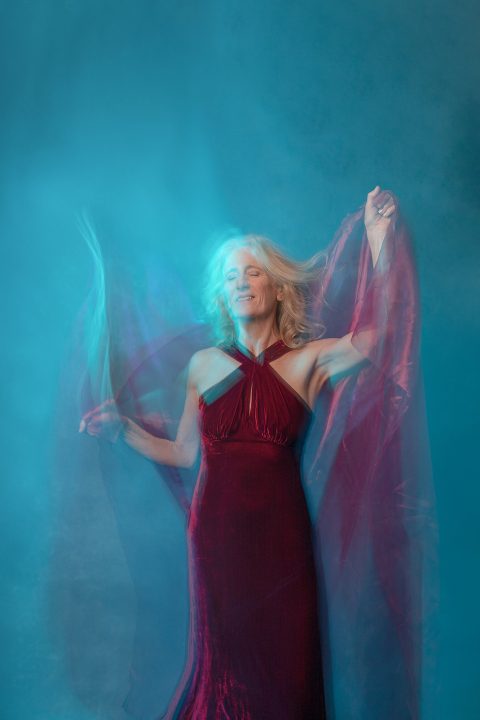
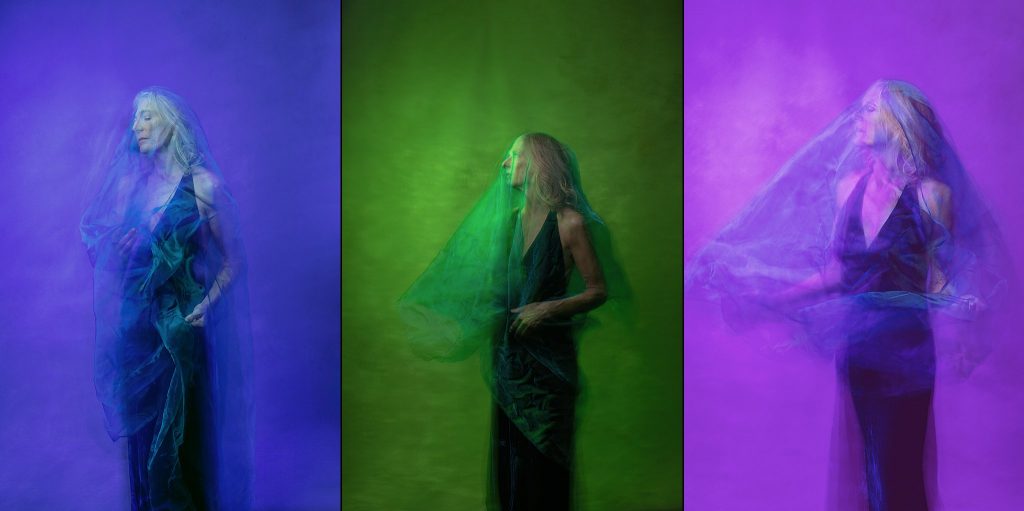
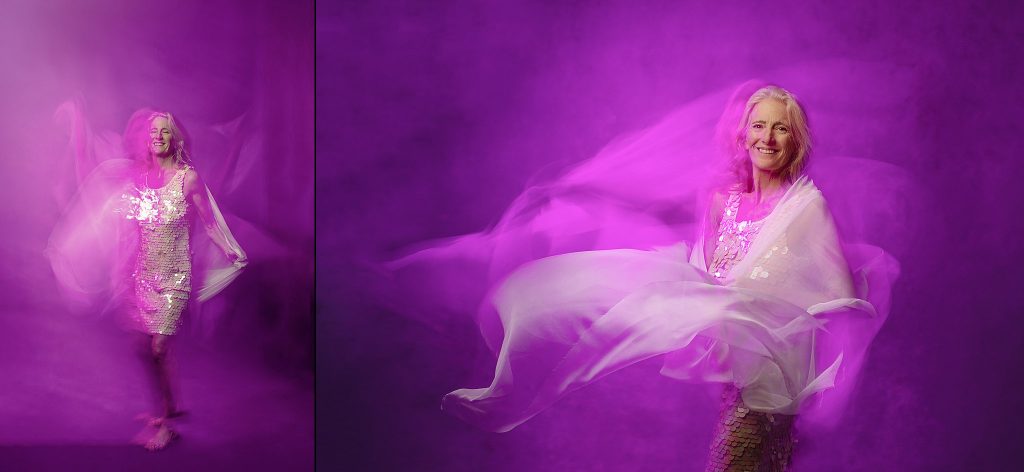
During our planning, I had presented Melinda with an idea that we could start the session by making an unusual set of creative images. I created the colored light images using fabrics and movement, a slow shutter, and a mix of colored light with strobe (flash). *(For photographers, I’ll include more details about how I made these images at the bottom of this post). This technique results in rich colors and motion blur, while keeping the subject’s face somewhat in focus and recognizable. It’s one way of evoking different emotions in a portrait.
Melinda had thought about booking a portrait session for nearly two years. She thought it seemed like a wonderful experience, but that it might be weird to want artistic photos of herself. She found the Portrait Experience to be fun, luxurious, and creative. It also resulted in portraits that honor who she is. She will enjoy them, and her children and grandchildren will, too.
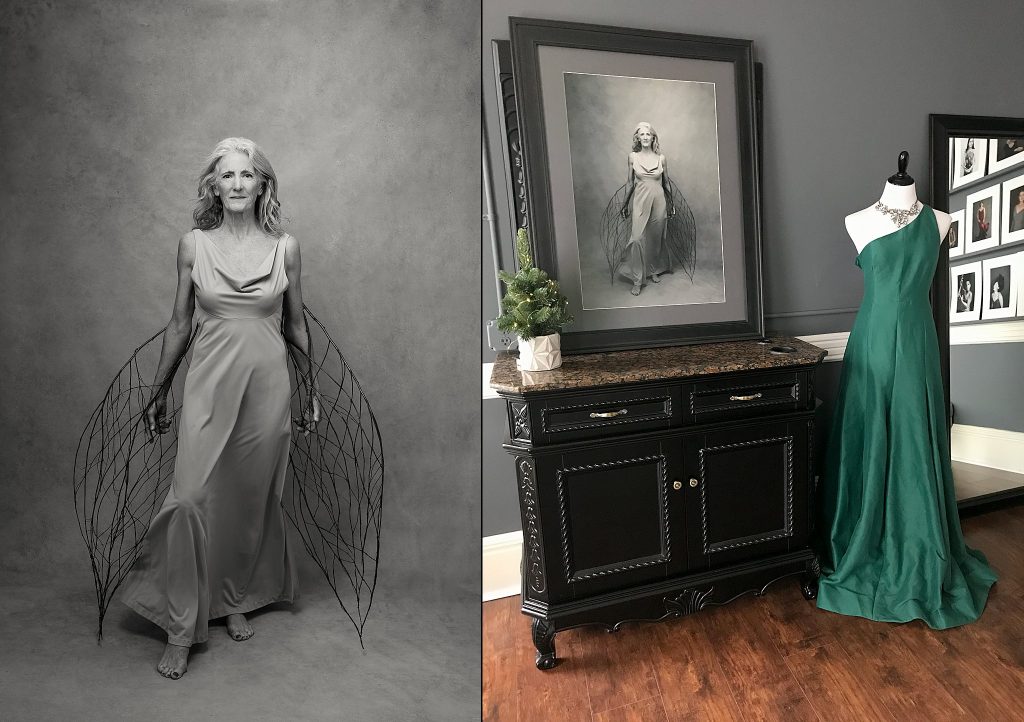
For Phoenix, below, we used wings that Melinda made from saplings.
For Photographers:
The technique that you see in many of the preceding images is achieved in-camera (not in Photoshop) using a technique that results in rich colors and motion blur, while keeping the subject’s face somewhat in focus and recognizable.
ROOM SETUP: The room must be completely dark. If you know my studio, it is filled with light. I bought every blackout curtain I could find at Walmart, and filled in any gaps with black foam core and gaffer’s tape.
LIGHTING SETUP: For the main light and in order to somewhat freeze the subject’s face, I used a Profoto B1, in an Elinchrom 3′ Rotalux Deep Octabox, camera left. Using the Profoto Air Remote trigger, I set this light to rear (or second) curtain sync. For the color/background/blur, I set up an LED, dimmable, colored light wand, on a light stand. This is a constant light, and I can choose from nine colors. I put this camera-left, between my subject and the background.
CAMERA SETUP: The key here is to use a slow shutter. For most of these, I used a 1-2 second shutter speed. For most work using a slow shutter speed, you would use a tripod. But the goal here was lots of motion blur, so I held the camera while either my subject moved, or I moved the camera (you can move it in circles, or side-to-side). My Canon 5D Mark IV is excellent in low-light situations, so focusing on my subject with just the dim constant light worked. If you have a different camera, you might need an assistant to turn on a light while you focus, and then switch it off before you take the photo.
